


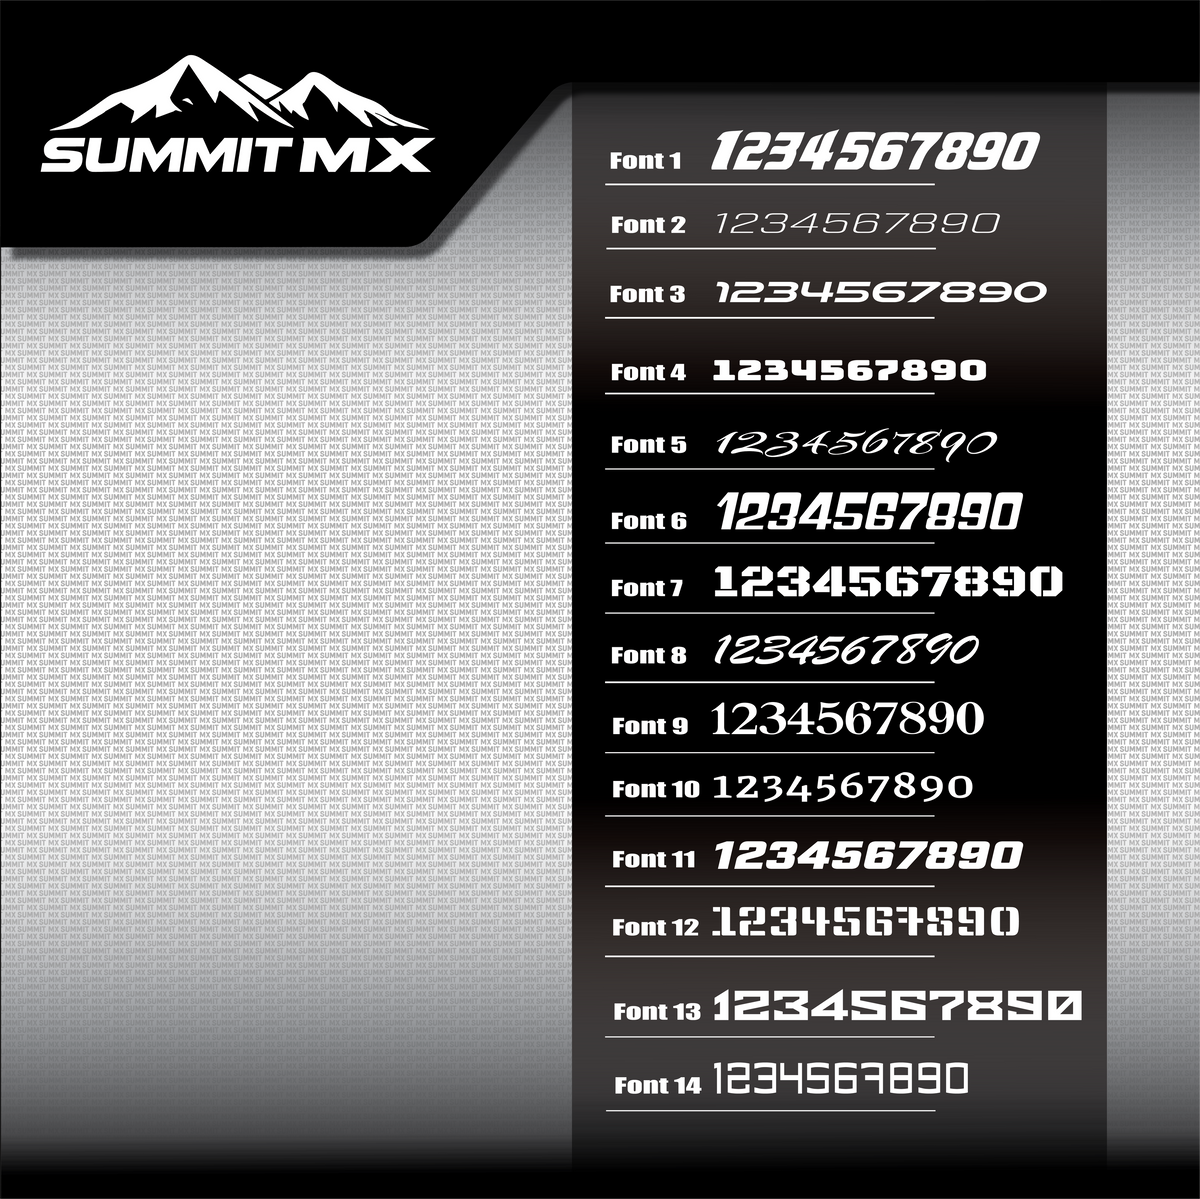
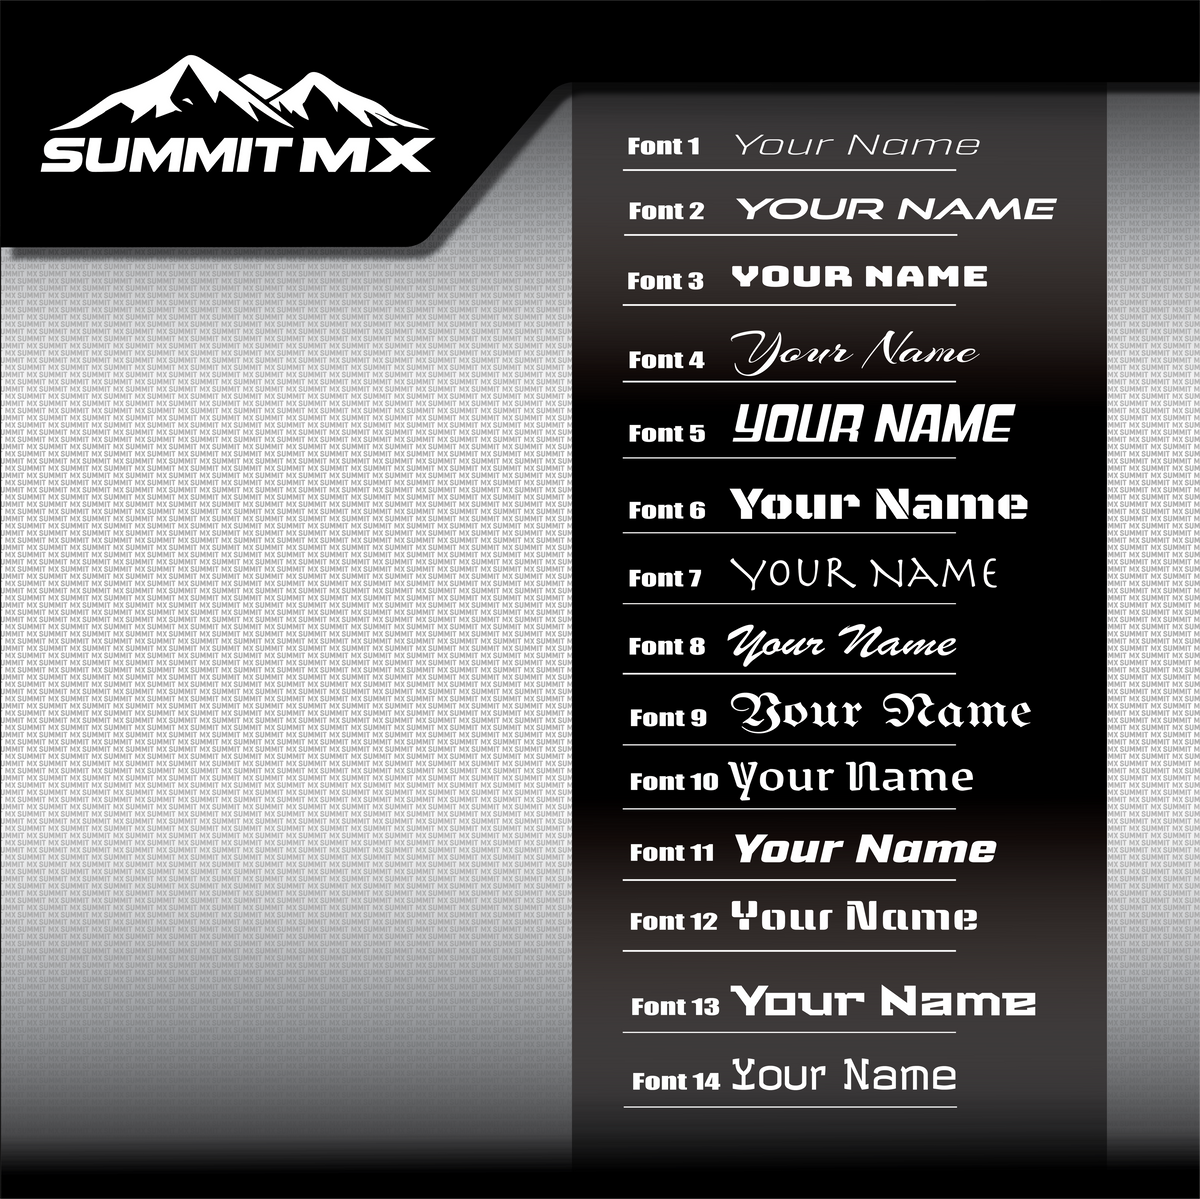
CHOOSE YOUR FINISH
All 9 finishes are available on this product. Pick the look that suits your build — each finish is selectable in the dropdown above.
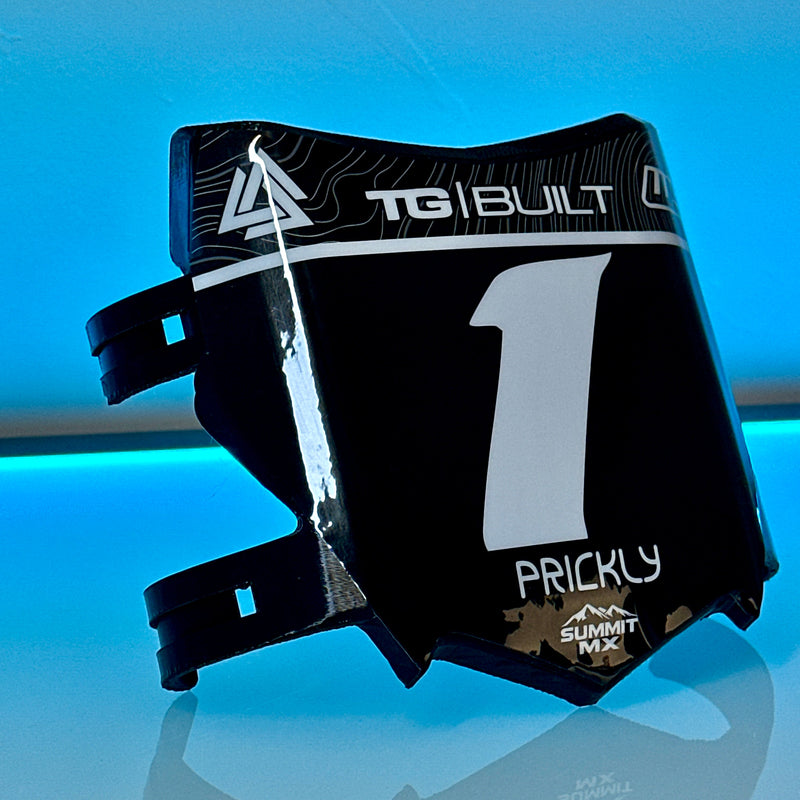
Gloss
Classic high-shine finish that enhances color depth.
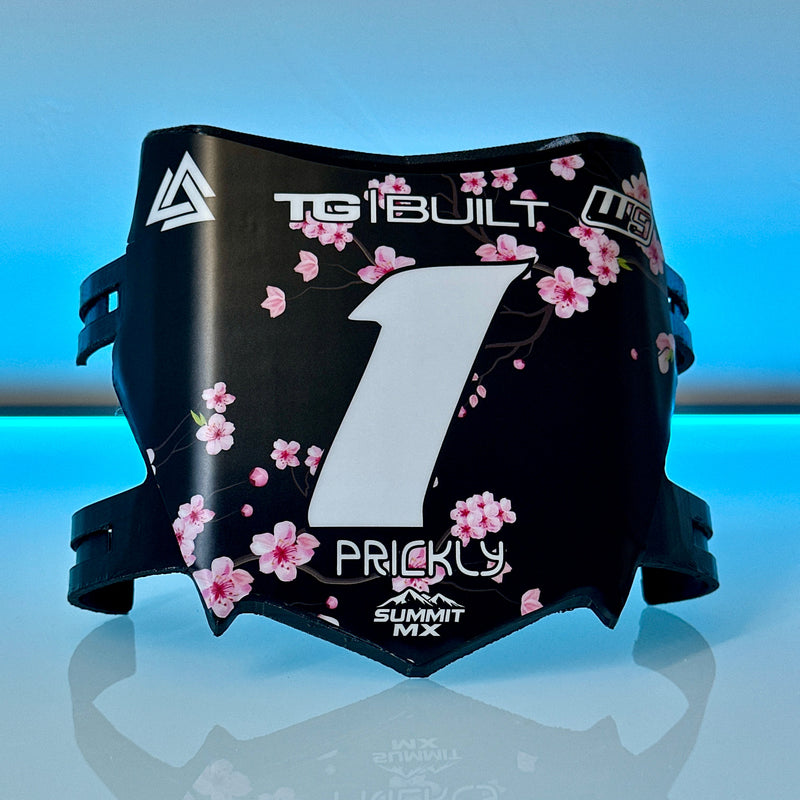
Matte
Soft, low-shine look for a stealthy, OEM-style appearance.
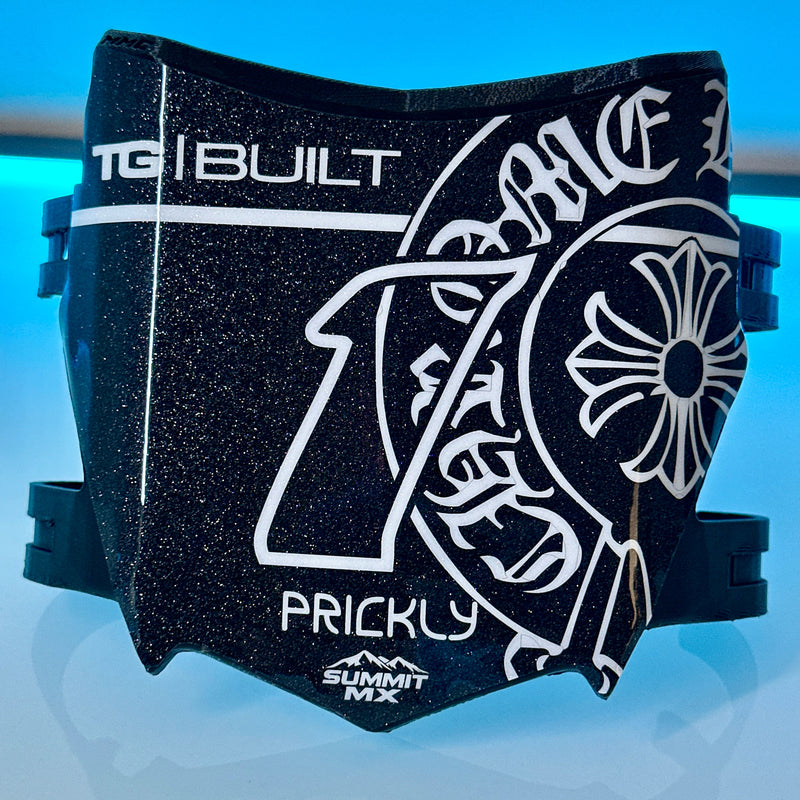
Sparkle
Eye catching sparkle with a gloss finish
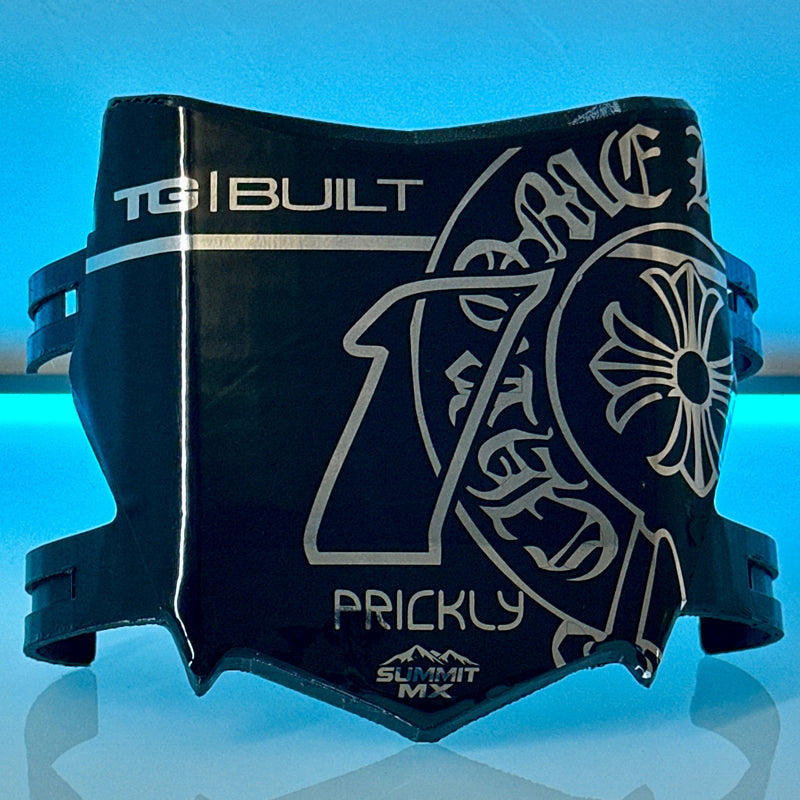
Chrome Gloss
Reflective chrome base with a high-shine clear coat.
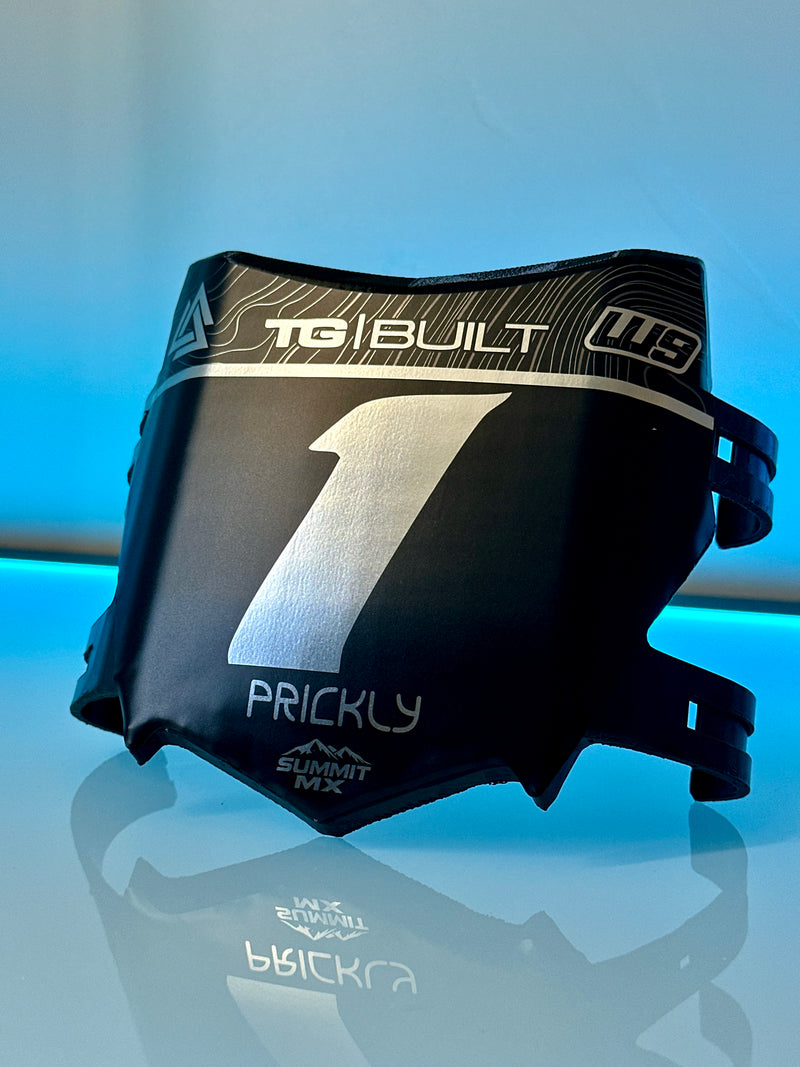
Chrome Matte
Chrome base with a soft matte top coat — metallic without the mirror.
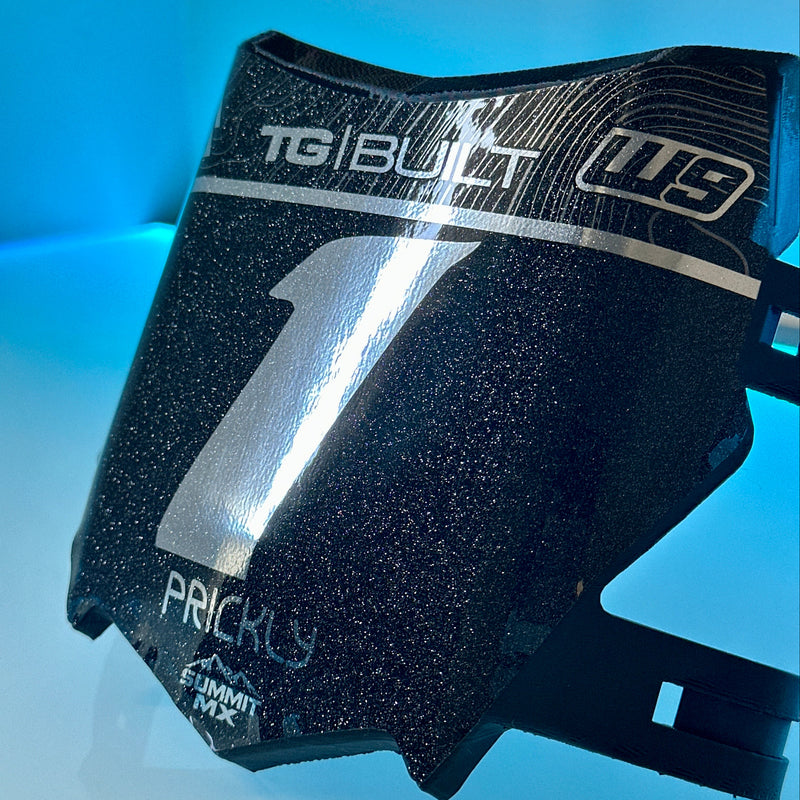
Chrome with Sparkle
Chrome vinyl base with silver flake laminate. Our most-ordered finish.
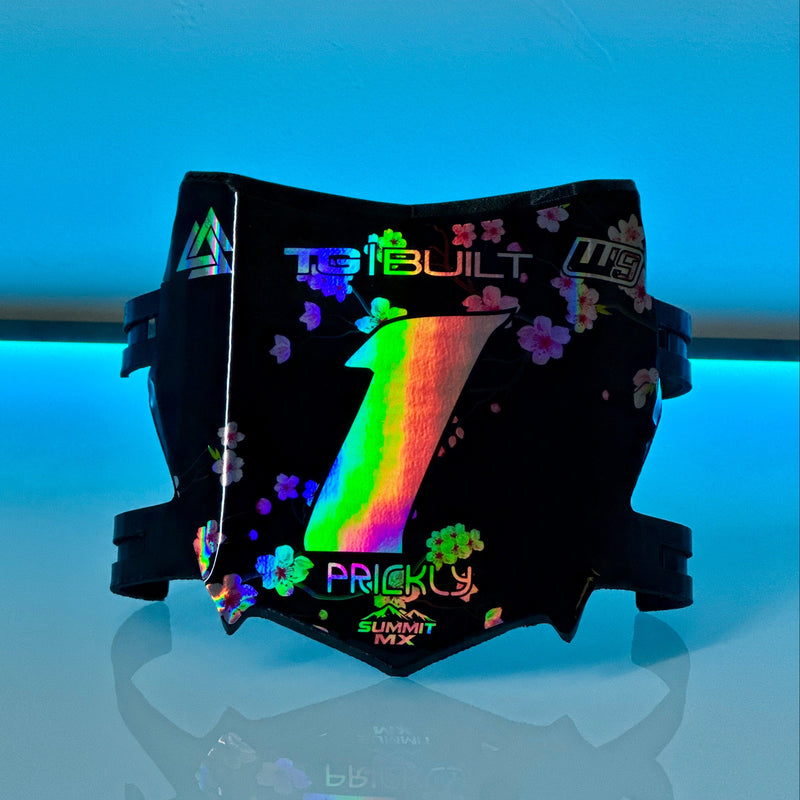
Holographic Gloss
Iridescent rainbow shift under high-shine clear laminate.
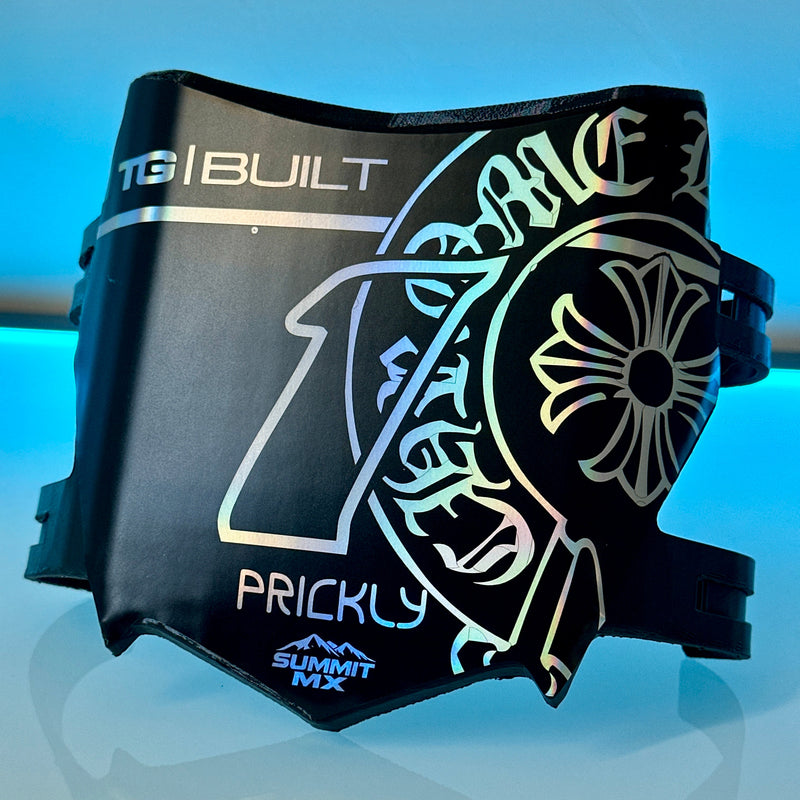
Holographic Matte
Holographic base with a soft matte laminate.
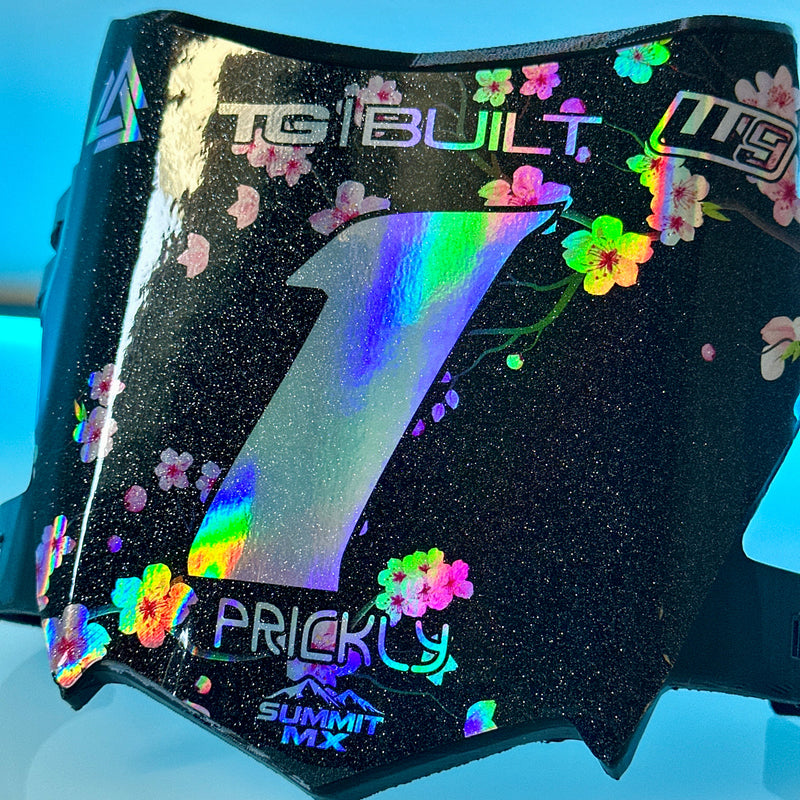
Holographic with Sparkle
Holographic base layered with silver flake laminate.

Surface Preparation
- Thoroughly clean the application area using isopropyl alcohol or a mild, residue-free cleaner.
- Remove all dirt, grease, wax, and dust.
- Ensure the surface is completely dry and smooth before applying.

Positioning the Decal
- Before removing the backing, test-fit and align the decal on the surface.
- Use masking tape to hold it in place if needed.
- Once aligned, flip the decal up and slowly peel away the backing paper.

Applying the Decal
- Starting from the center, press the decal down gradually, working from the center outward.
- Use your hand, a soft squeegee, or a microfiber cloth to remove air bubbles as you go.
- Apply firm, even pressure across the entire decal.

Post-Application & Heat Treatment
- Once applied, go over the decal again with firm pressure to ensure full contact.
- Carefully heat-treat the decal using a heat gun or small torch to activate the adhesive and help the vinyl conform to the plastic. Use low heat and keep the heat source moving at all times.
Do not overheat — excessive heat can burn, distort, or damage the vinyl and laminate. - The vinyl should become slightly warm and more flexible, not hot.
This heat-treat step is critical for long-term adhesion, especially on curved plastics and high-wear areas.