


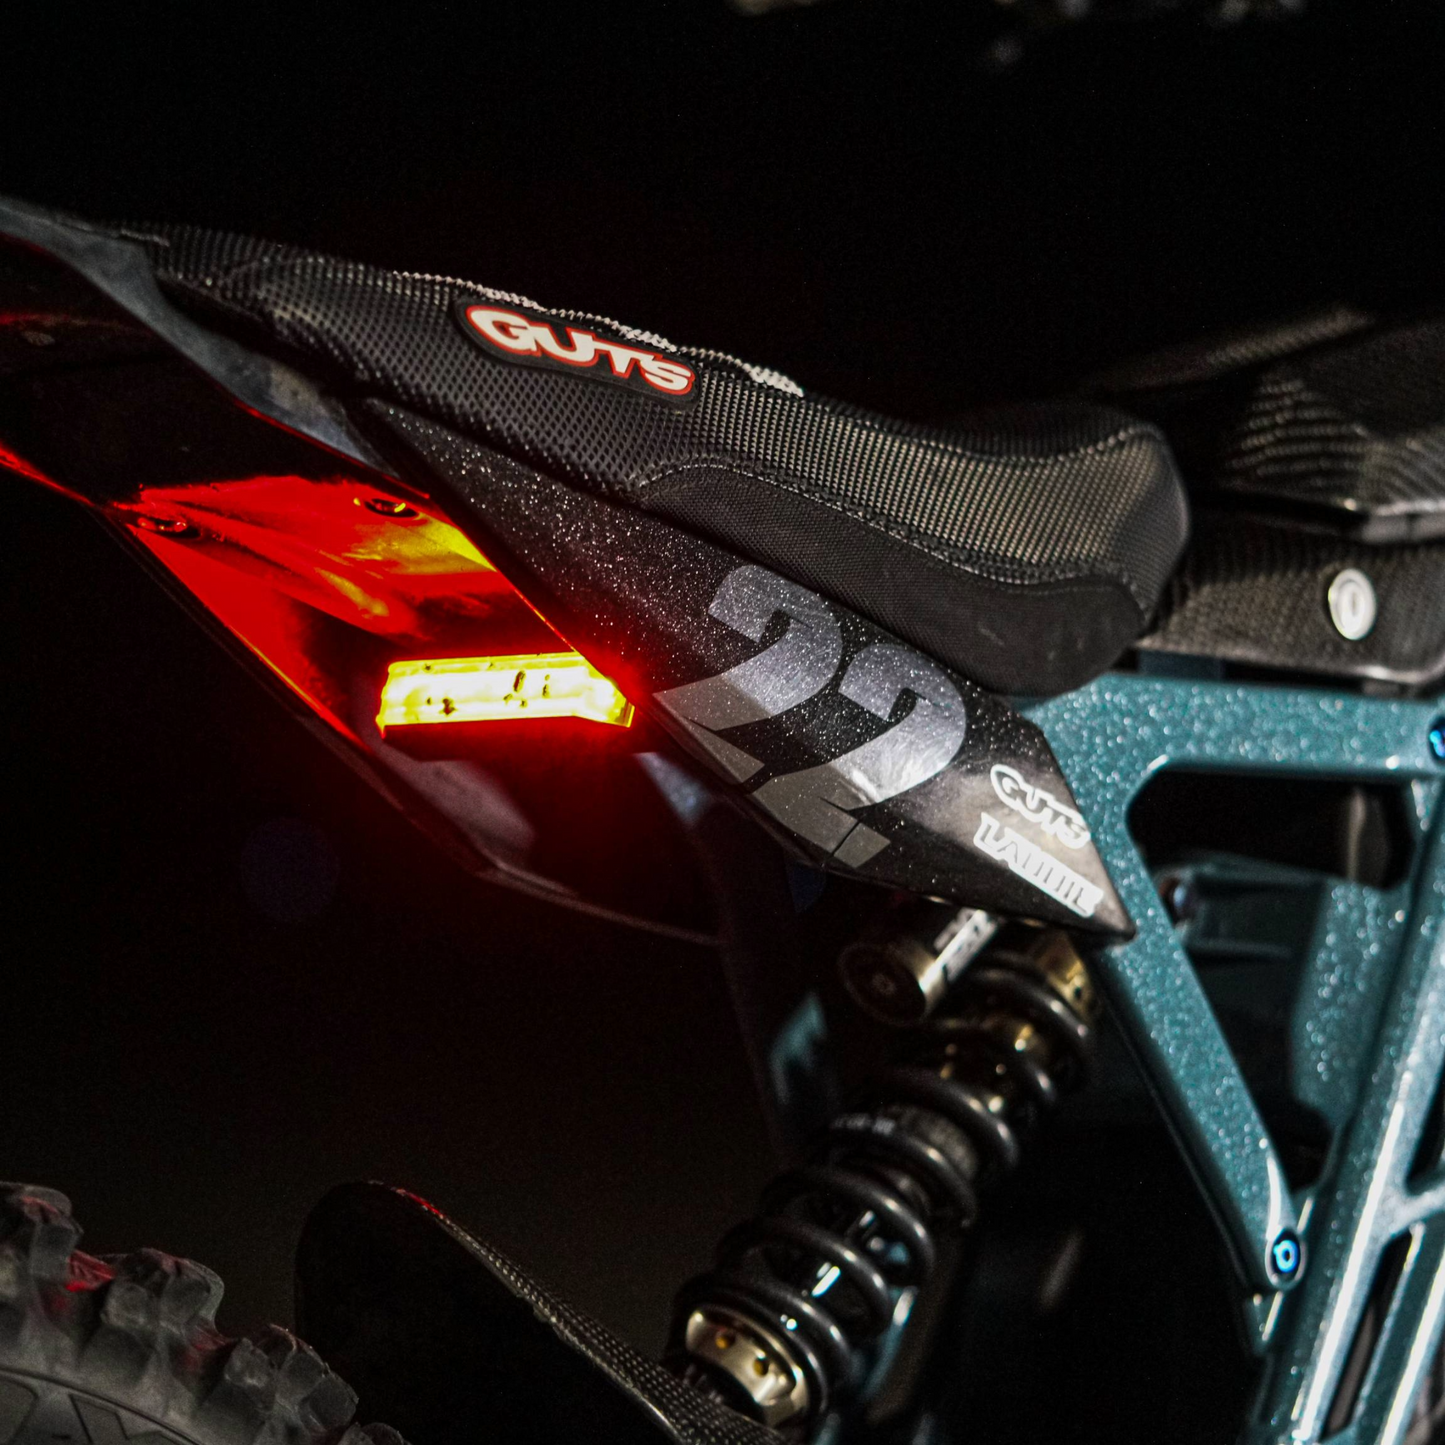
Vinyl and Laminate Opotions
-

Vinyl Options
Any areas shown as white in the design will be produced using the vinyl color you select. We do not print white ink. This means all white portions of the artwork will appear as White, Chrome, or Holographic vinyl, depending on your chosen option.
All decals are printed on premium vinyl sourced from the same supplier used by many professional Supercross and motocross teams for their official race kits, ensuring top-tier durability, color vibrancy, and long-term performance.
-

Clear Gloss Laminate
Our Clear Gloss laminate delivers a clean, high-shine finish that enhances color depth and gives your decals a smooth, factory-style look. Sourced from the same professional-grade supplier trusted by top Supercross teams, this overlaminate protects against UV exposure, abrasion, roost, and everyday riding wear while keeping your graphics looking crisp and vibrant.
-

Silver Flake Laminate
Our Silver Flake laminate is by far our most popular option. It adds a subtle metallic sparkle for a custom look that stands out in the light without being over the top. This professional-grade overlaminate not only elevates the appearance of your decals but also provides durable protection against UV exposure, abrasion, roost, and daily riding conditions—so your graphics stay protected while turning heads.


Surface Preparation
- Thoroughly clean the application area using isopropyl alcohol or a mild, residue-free cleaner.
- Remove all dirt, grease, wax, and dust.
- Ensure the surface is completely dry and smooth before applying.

Positioning the Decal
- Before removing the backing, test-fit and align the decal on the surface.
- Use masking tape to hold it in place if needed.
- Once aligned, flip the decal up and slowly peel away the backing paper.

Applying the Decal
- Starting from the center, press the decal down gradually, working from the center outward.
- Use your hand, a soft squeegee, or a microfiber cloth to remove air bubbles as you go.
- Apply firm, even pressure across the entire decal.

Post-Application & Heat Treatment
- Once applied, go over the decal again with firm pressure to ensure full contact.
- Carefully heat-treat the decal using a heat gun or small torch to activate the adhesive and help the vinyl conform to the plastic. Use low heat and keep the heat source moving at all times.
Do not overheat — excessive heat can burn, distort, or damage the vinyl and laminate. - The vinyl should become slightly warm and more flexible, not hot.
This heat-treat step is critical for long-term adhesion, especially on curved plastics and high-wear areas.