


Modded Moto Co
RFloXa Hawk31 Max Inverted Fork & Triple-Clamp Kit
RFloXa Hawk31 Max Inverted Fork & Triple-Clamp Kit
Couldn't load pickup availability
About this item
Note: Our wider drop crown triple clamp kit data is based on Talaria Sting MX3 / MX4, Sur-Ron Light Bee and Eride Pro product data, all non-standard front wheel cores or modified wheel cores with non-factory data will not fit perfectly.
① Max Widened Stability -- The Max widened version triple clamp includes upper and lower clamps, a steering stem, raised flange, widened front wheel axle kit, and screws, all designed for superior stability and support. The triple clamp and steering stem are available in five color options—black, purple, blue, red, and titanium gold—with a matching finish for a seamless look. Crafted using CNC precision machining, this setup ensures durability and an impeccably engineered fit, meeting the demands of high-performance riding.
② High-Performance Design -- The Hawk31 MAX front fork features an impressive travel range of 203-228mm and is designed for top-tier performance in downhill and off-road biking. With a stanchion diameter of 37mm and a caliper mount spacing of 74mm, it’s compatible with 203mm and 220mm disc brakes (with options for upgrades), making it ideal for electric dirt bikes and downhill bikes.
③ Advanced Suspension Technology -- This fork employs an inverted oil-spring damping system with asymmetrical left and right legs for a unique, independent structure. It includes multi-stage adjustments for high-speed compression damping, low-speed compression damping, rebound damping, and spring preload, allowing for precise tuning to match your riding style and terrain.
④ Robust Build Quality -- Constructed with AL6061-T6 forged aluminum alloy for the bottom brackets and AL7075-T6 aluminum alloy for the fork tubes, the Hawk31 MAX is built for durability and strength. The use of 55CRSI spring wire ensures resilience and performance under stress.
⑤ Customizable Adjustments -- All adjustment functions, including Multi-stage High-Speed Compression, Low-Speed Compression, rebound, and preload settings, are controlled by easy-to-use manual knobs. This allows for quick and convenient tuning in various riding conditions, ensuring optimal performance and comfort.
⑥ Enhanced Bottom-Out Support -- The fork features a unique oil pressure bottom-out design that provides strong support at the end of the travel, enhancing stability and reducing the impact of hard hits.
⑦ Reliable Damping Performance -- The internal damping system includes dual compression valve plates, ensuring stable and reliable compression damping. The fork uses high-quality, low-friction, low-freezing-point shock absorber oil to maintain consistent damping performance, even in extreme conditions
Fitment Bike:
- Talaria MX3 / MX4 / XXX
- SurRon LBX, LBS, L1E
- Segway X-260 / X-160
- E-Ride Pro S / SS 1.0/2.0
- Rawrr Mantis
- 79 Bike Falcon M
- Ventus One
- RFN Apollo
- Rerode R1
FEATURES:
- Center Distance: 750-800mm
- Main Piston Travel: 203-228mm
- Tube Diameter: ∅37mm
- Caliper Mount Spacing: 74mm
- Disc Brake Size: ∅203mm (Upgradeable)
- Suitable For: Electric Dirt Bikes, Downhill Bikes
- Damping System: Inverted Oil-Spring
- Adjustments: Multi-stage High-Speed Compression, Low-Speed Compression, Rebound, Spring Preload
- Material: AL6061-T6 Forged Aluminum Alloy Bottom Brackets, AL7075-T6 Aluminum Fork Tubes
- Spring Wire: 55CRSI
- MAX Triple Clamp: CNC Precision Machined


CHOOSE YOUR FINISH
All 9 finishes are available on this product. Pick the look that suits your build — each finish is selectable in the dropdown above.
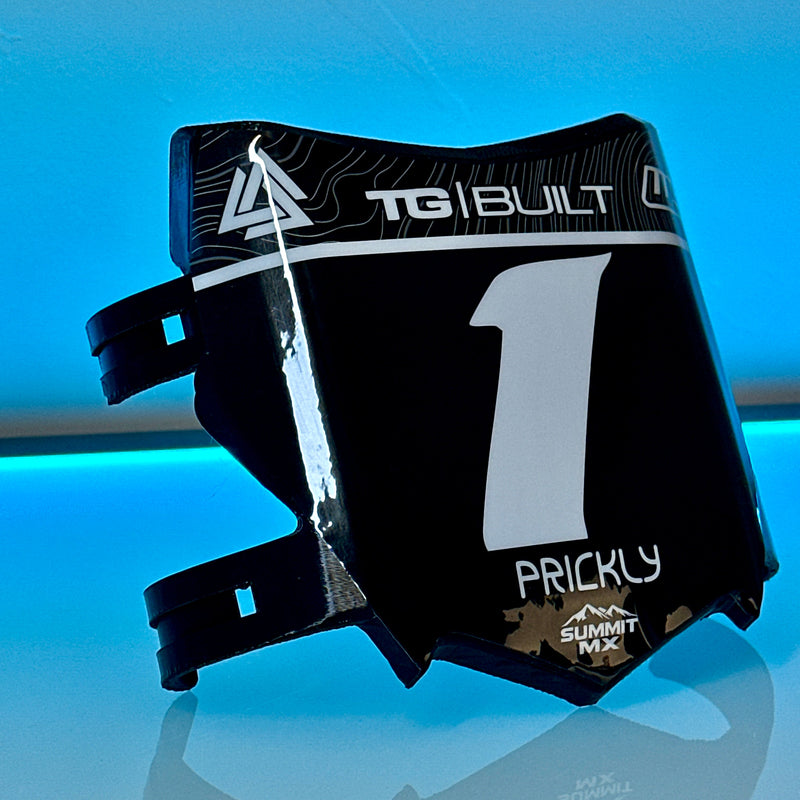
Gloss
Classic high-shine finish that enhances color depth.
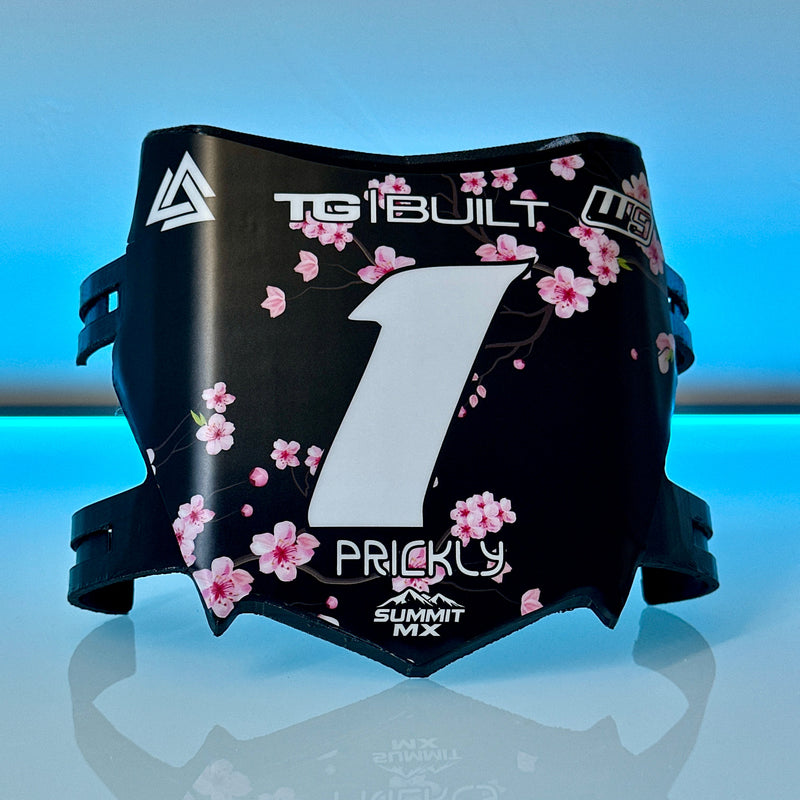
Matte
Soft, low-shine look for a stealthy, OEM-style appearance.
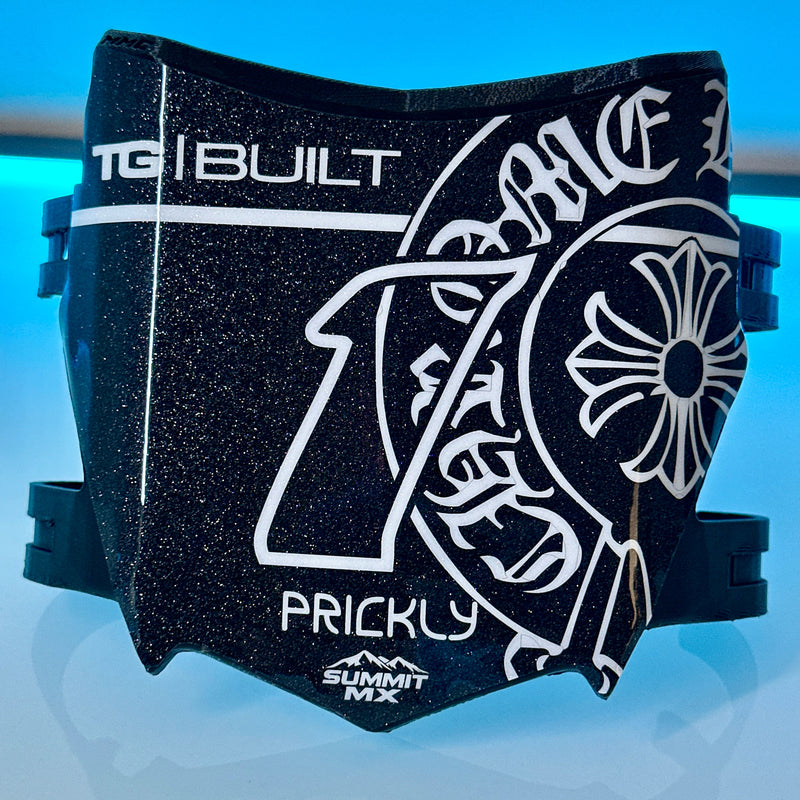
Sparkle
Eye catching sparkle with a gloss finish
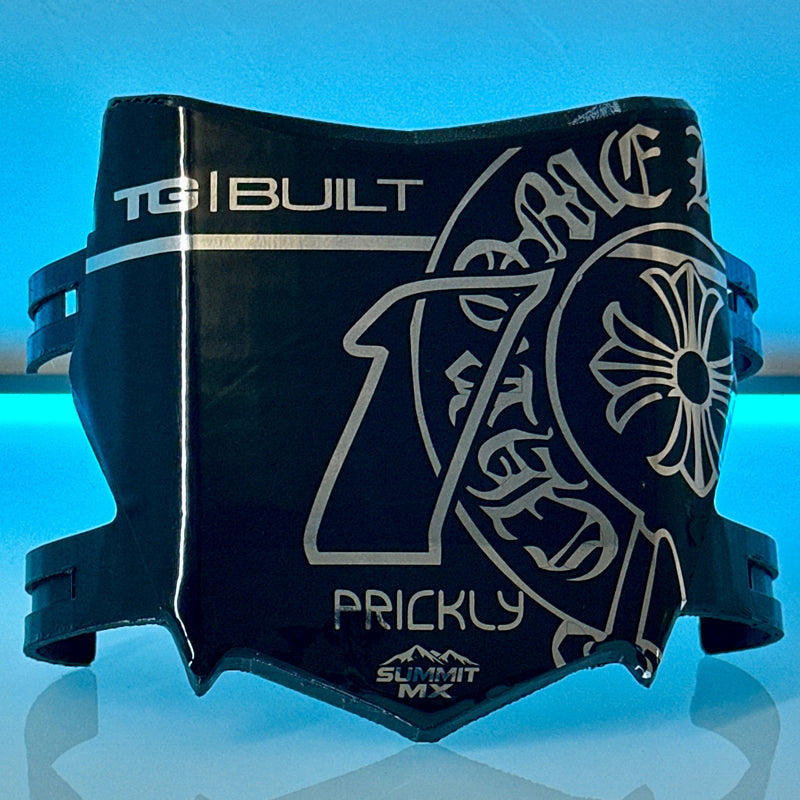
Chrome Gloss
Reflective chrome base with a high-shine clear coat.
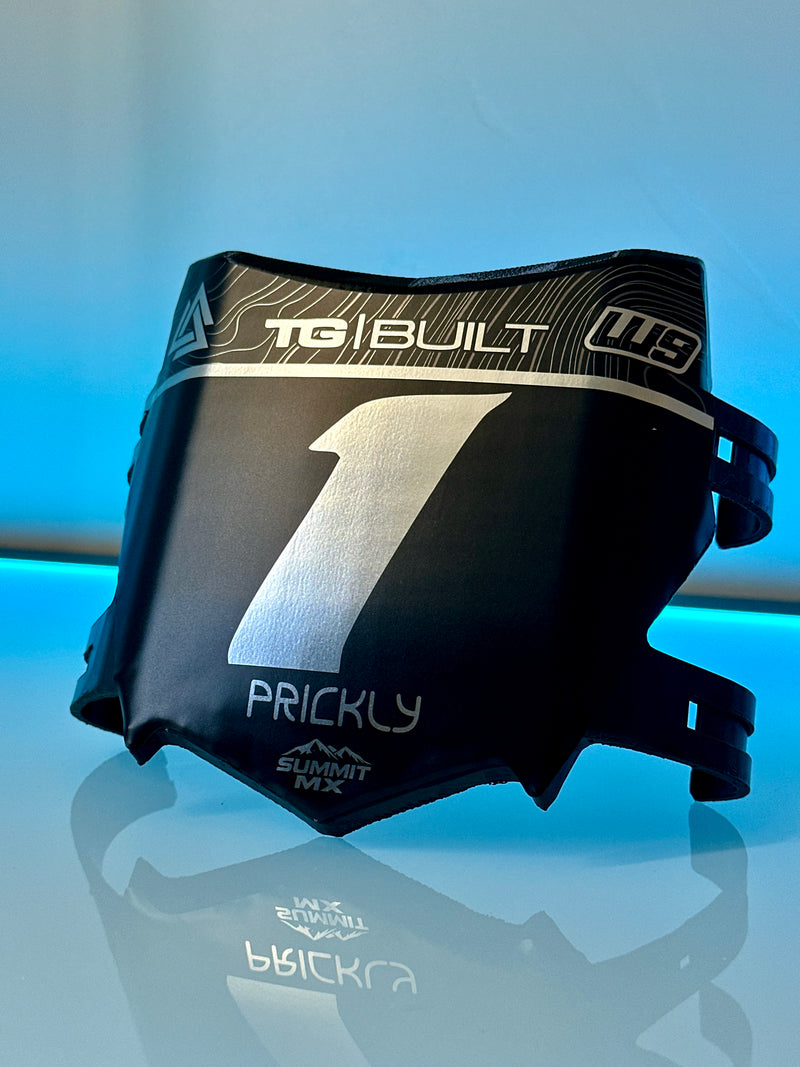
Chrome Matte
Chrome base with a soft matte top coat — metallic without the mirror.
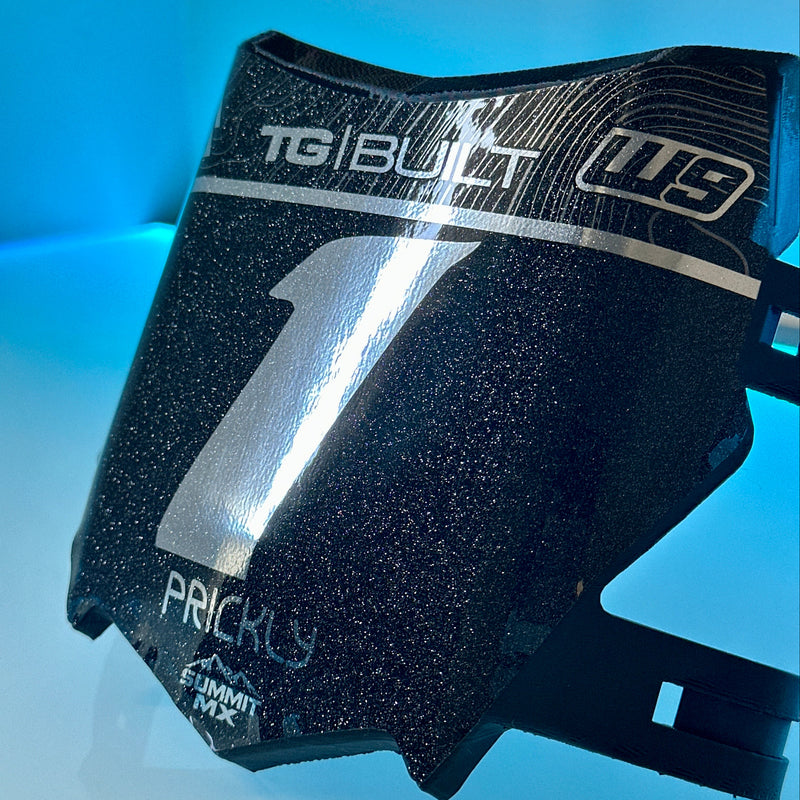
Chrome with Sparkle
Chrome vinyl base with silver flake laminate. Our most-ordered finish.
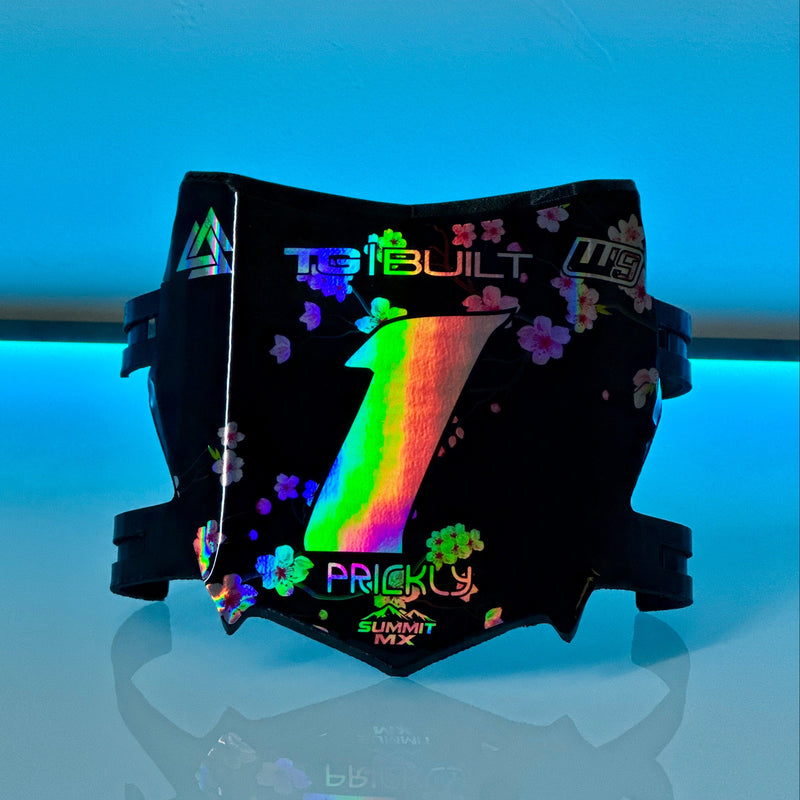
Holographic Gloss
Iridescent rainbow shift under high-shine clear laminate.
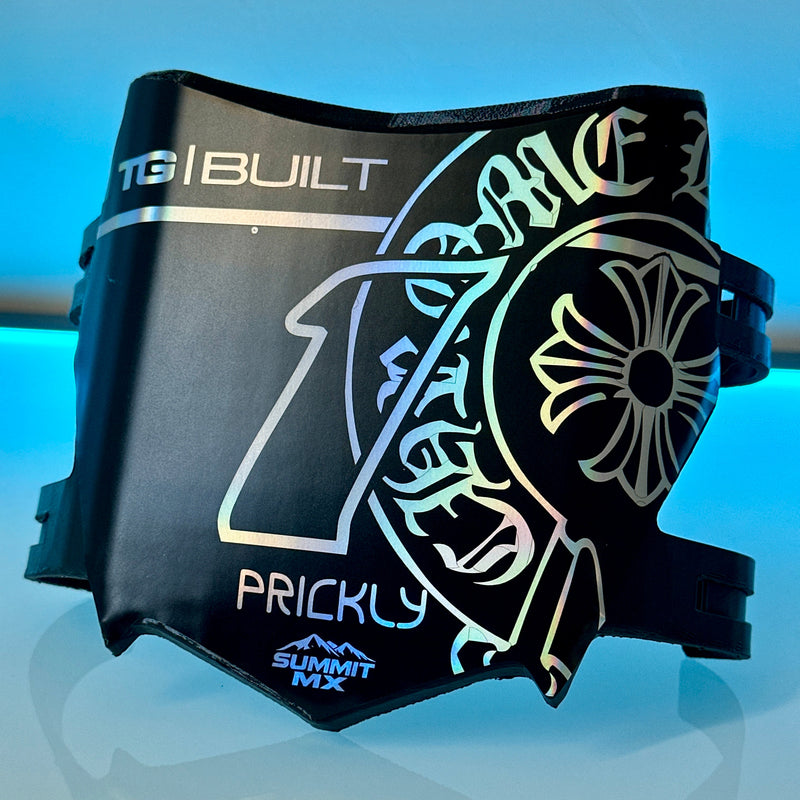
Holographic Matte
Holographic base with a soft matte laminate.
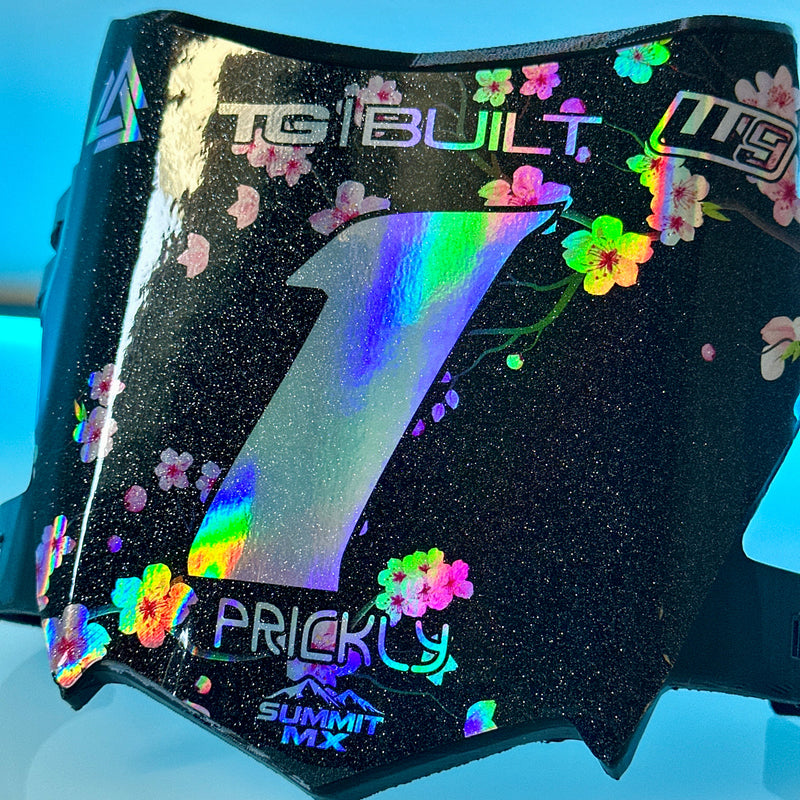
Holographic with Sparkle
Holographic base layered with silver flake laminate.

Surface Preparation
- Thoroughly clean the application area using isopropyl alcohol or a mild, residue-free cleaner.
- Remove all dirt, grease, wax, and dust.
- Ensure the surface is completely dry and smooth before applying.

Positioning the Decal
- Before removing the backing, test-fit and align the decal on the surface.
- Use masking tape to hold it in place if needed.
- Once aligned, flip the decal up and slowly peel away the backing paper.

Applying the Decal
- Starting from the center, press the decal down gradually, working from the center outward.
- Use your hand, a soft squeegee, or a microfiber cloth to remove air bubbles as you go.
- Apply firm, even pressure across the entire decal.

Post-Application & Heat Treatment
- Once applied, go over the decal again with firm pressure to ensure full contact.
- Carefully heat-treat the decal using a heat gun or small torch to activate the adhesive and help the vinyl conform to the plastic. Use low heat and keep the heat source moving at all times.
Do not overheat — excessive heat can burn, distort, or damage the vinyl and laminate. - The vinyl should become slightly warm and more flexible, not hot.
This heat-treat step is critical for long-term adhesion, especially on curved plastics and high-wear areas.