Skip to product information
1 of 7

Modded Moto Co

EBMX Extended Swingarm – Surron Light Bee / E-Ride Pro

EBMX Extended Swingarm – Surron Light Bee / E-Ride Pro

Regular price $789.00
Regular price Sale price $789.00
Sale Sold out
Quantity

Looking to significantly increase the size and strength of your SurRon or E Ride Pro SS 2.0? The EBMX swingarm will extend your wheelbase by over 2" and increase your rear wheel travel by 3/4".  This will make your Surron or E-Ride 2.0 more stable and planted and reduce the front wheel from coming up during hard acceleration.

  • 60mm (+2.4") Longer Wheelbase
  • 220mm (+3/4") suspension travel (with EBMX YSS shock and linkage)
  • Stronger and more rigid for less flex
  • Support for wider tires 

Highly recommended to pair this with the EBMX YSS rear shock and linkage for the increased loads on your rear shock with this extended swingarm.  A longer swingarm increases the forces into your rear shock and must be matched to a high quality shock with a higher spring rate.  OEM style shocks will not perform well with this upgrade.

Compatibility

  • Surron Light Bee
  • E Ride Pro 2.0
  • NOT COMPATIBLE with any other bike
  • Chain NOT included

Specs

  • Designed specifically for SurRon Light Bee / Segway X160/X260 and E Ride Pro 2.0
  • Compatible with stock sprockets and 54T-58T, and 64T rear sprockets
  • Works with most upgraded suspension systems and rear wheels
  • Massive strength upgrade over OEM swingarm
  • Dirt-shedding design improves reliability
  • Supports larger sprocket setups with integrated chain guide (available separately)
  • Extended 60mm for better high-speed stability and cornering

Key Features

  • Reinforced CNC-Machined Design
    Built from aerospace-grade billet aluminium, this new swingarm boasts a dirt-shedding geometry and robust construction. The fully CNC-machined structure ensures tighter tolerances, greater durability, and a finish that speaks to both performance and premium craftsmanship.
  • Extended Length for Stability and Control
    The extended geometry improves rear wheel traction and stability—especially valuable in high-power, off-road conditions. This means better control, smoother landings, and improved handling under acceleration.
  • New Chain Guide System (sold separately)
    A complete new chain guide system now supports 54T-58T, and 64T sprockets, catering to torque-focused setups for trail, climb, or stunt applications. This system helps keep your chain in line, even under extreme conditions
  • Improved Mud & Debris Clearance
    The new swingarm features precision-cut channels that actively shed dirt and debris, reducing buildup and minimising maintenance. Ideal for riders who don't shy away from tough trails and muddy terrains.
  • Aftermarket Ready – Chain Replacement Required
    Due to the extended design, your existing chain will be too short. A new chain is required and should be sized appropriately for your sprocket selection and tension preferences.
View full details

Surface Preparation

  • Thoroughly clean the application area using isopropyl alcohol or a mild, residue-free cleaner.
  • Remove all dirt, grease, wax, and dust.
  • Ensure the surface is completely dry and smooth before applying.

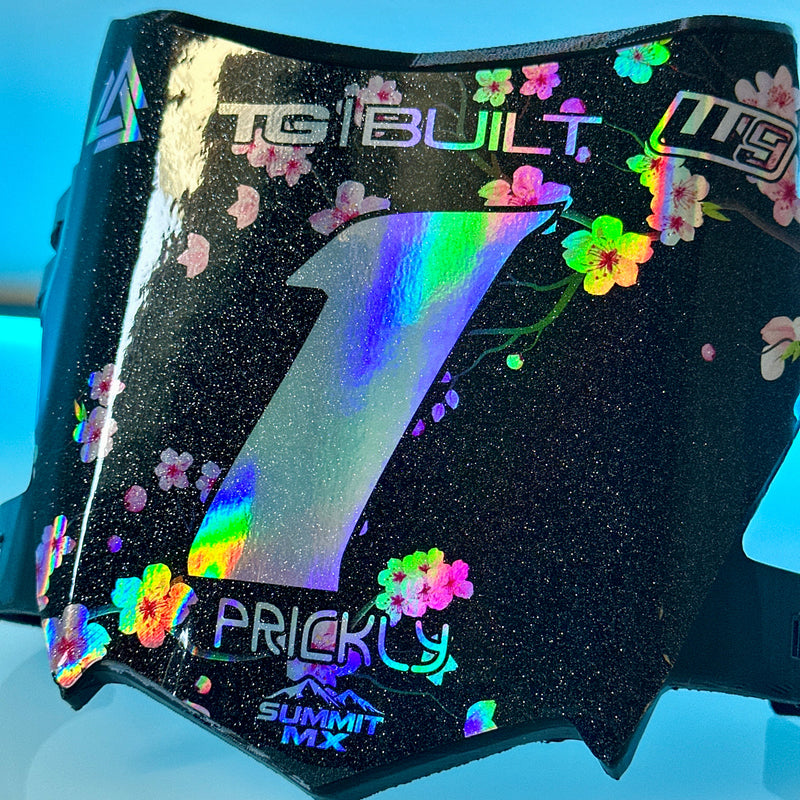
Positioning the Decal

  • Before removing the backing, test-fit and align the decal on the surface.
  • Use masking tape to hold it in place if needed.
  • Once aligned, flip the decal up and slowly peel away the backing paper.

Applying the Decal

  • Starting from the center, press the decal down gradually, working from the center outward.
  • Use your hand, a soft squeegee, or a microfiber cloth to remove air bubbles as you go.
  • Apply firm, even pressure across the entire decal.

Post-Application & Heat Treatment

  • Once applied, go over the decal again with firm pressure to ensure full contact.
  • Carefully heat-treat the decal using a heat gun or small torch to activate the adhesive and help the vinyl conform to the plastic. Use low heat and keep the heat source moving at all times.

    Do not overheat — excessive heat can burn, distort, or damage the vinyl and laminate.
  • The vinyl should become slightly warm and more flexible, not hot.

This heat-treat step is critical for long-term adhesion, especially on curved plastics and high-wear areas.